
Absynth 6.2.1 (macOS)
One download for Apple Silicon and Intel. Opens the install steps and mirrors.
- Version
- 6.2.1
- Size
- 2.6 GB
- Earliest macOS
- 14 or later
- CPU type
- Universal
- Updated
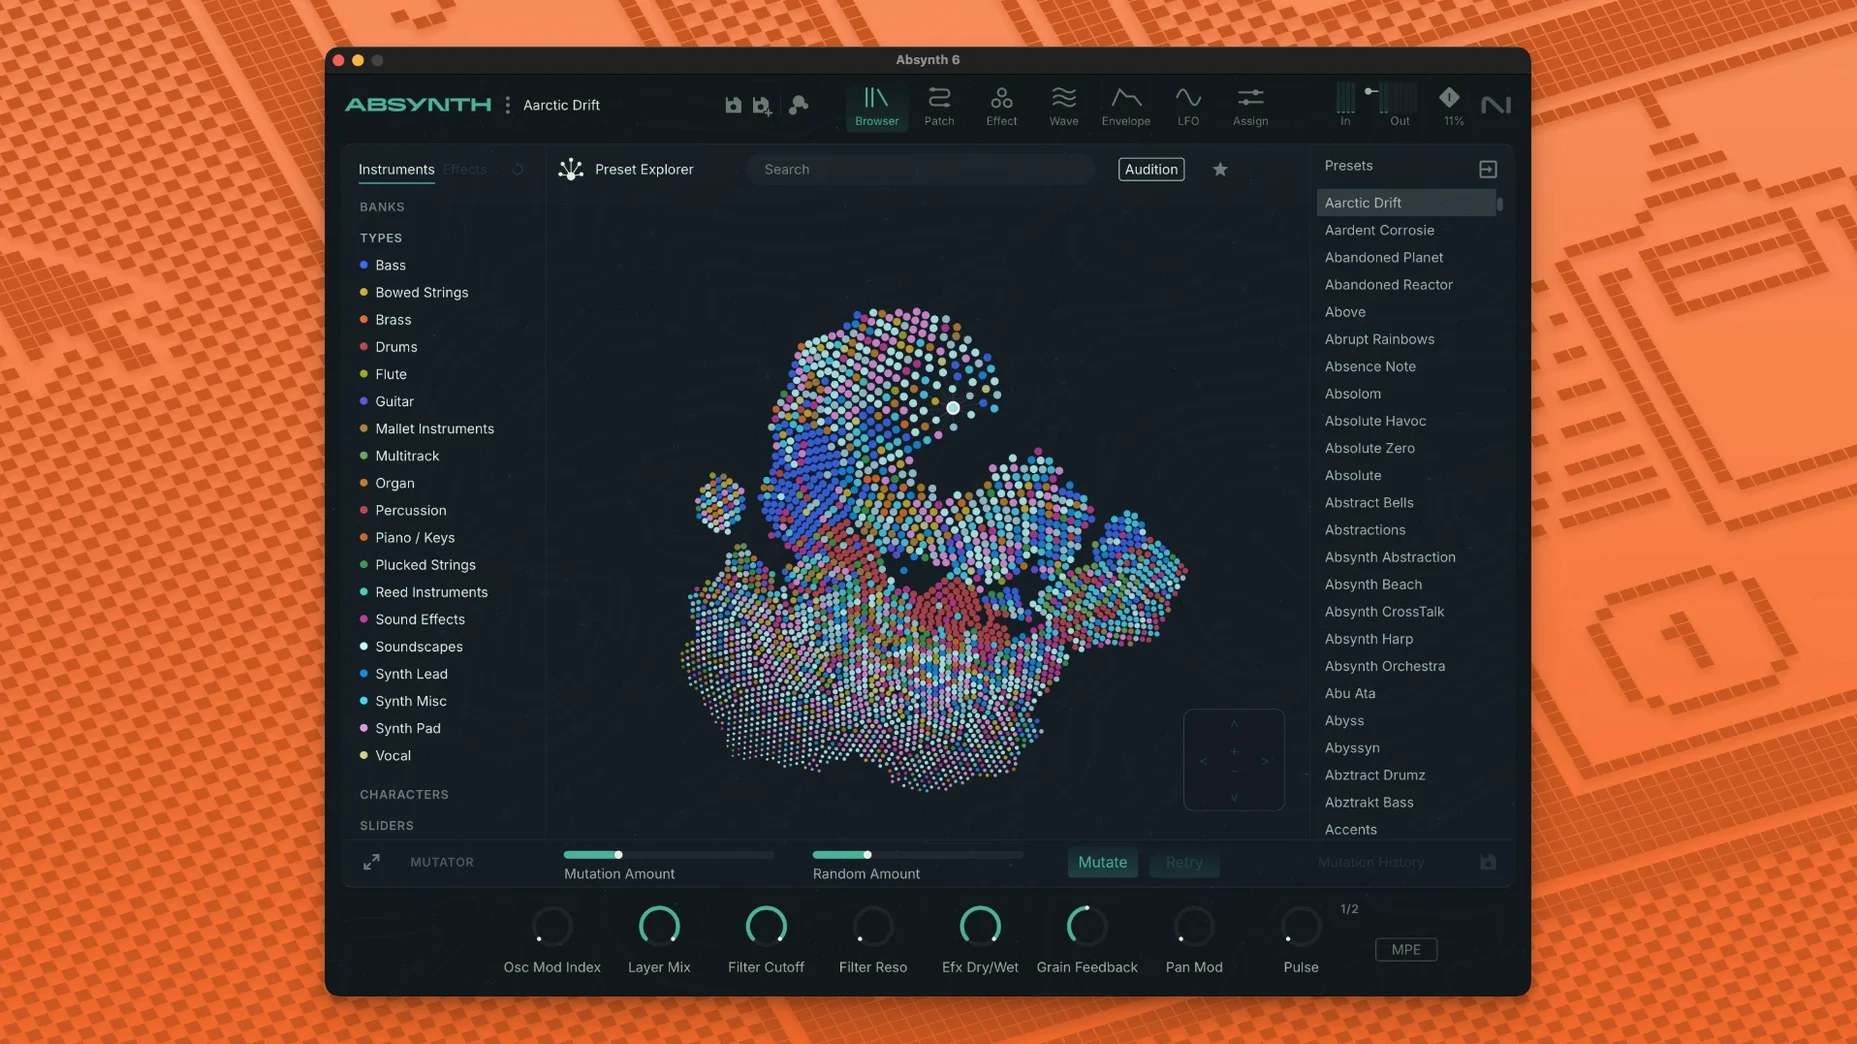
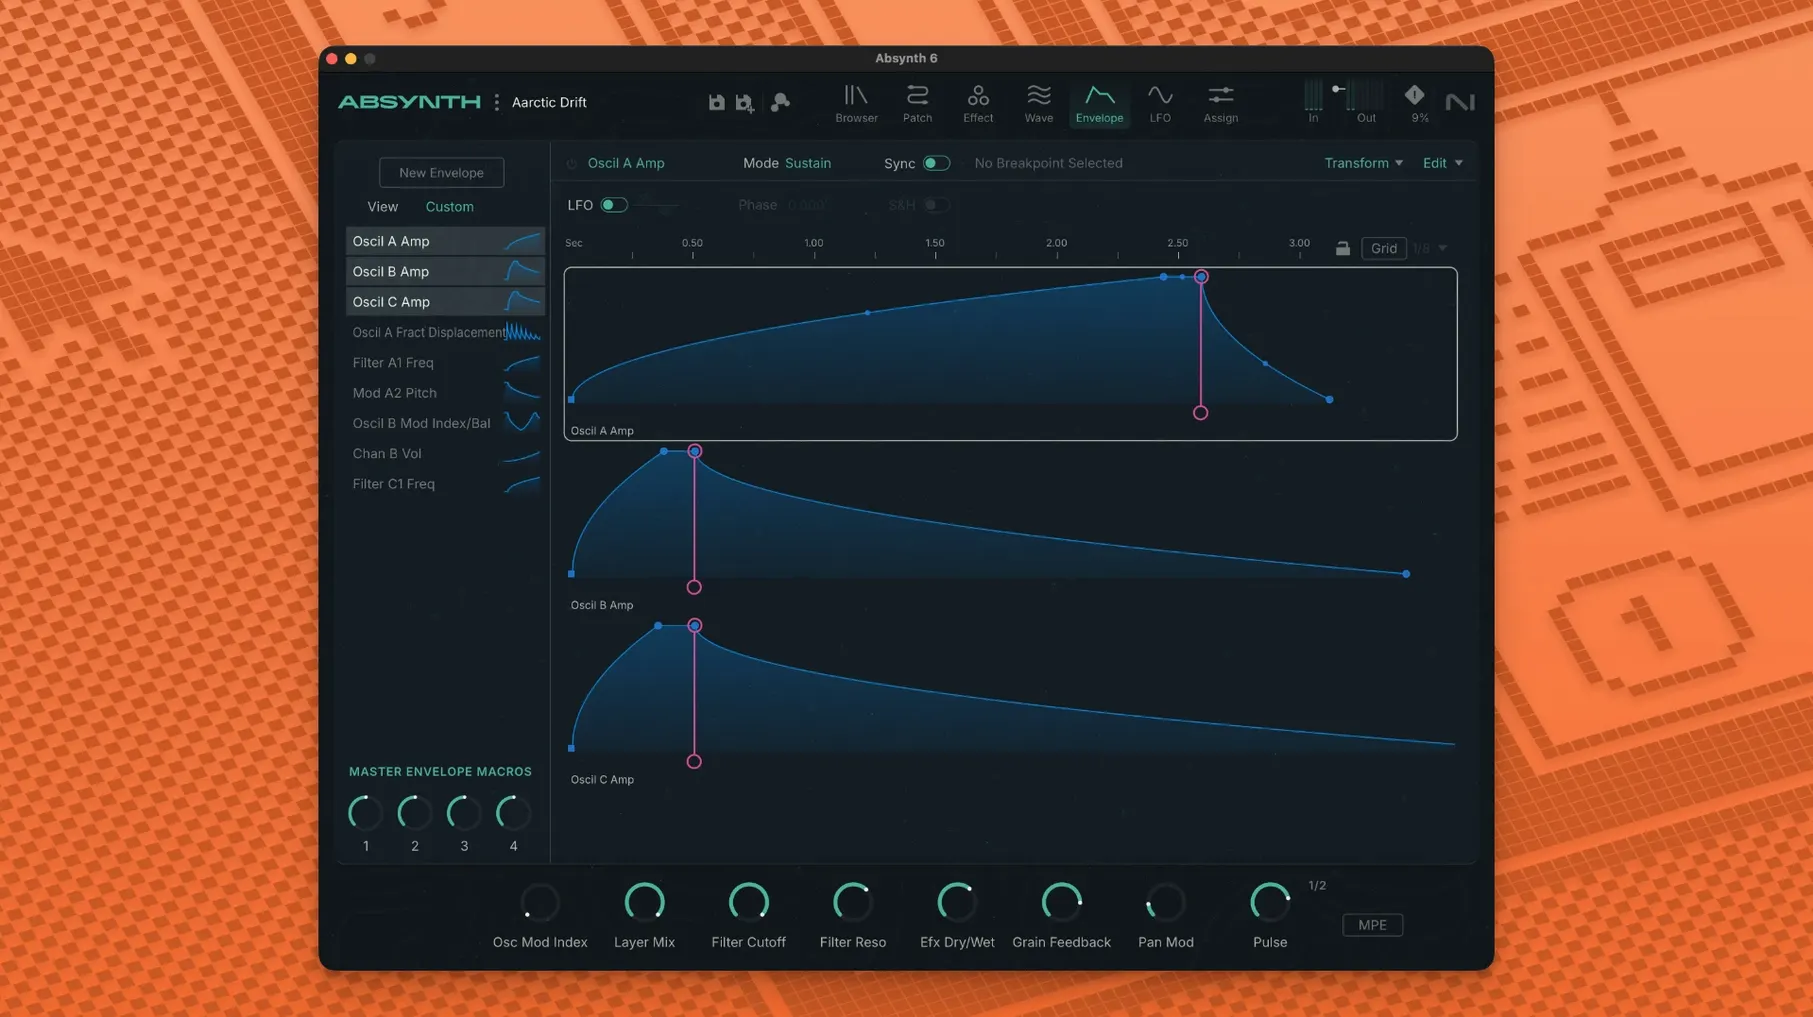
Version 6 brought surround mixing and full MPE control back to this semi-modular instrument.
Semi-modular synth — a fixed signal path you can override with patch cables, giving you a hybrid of a hard-wired and a fully modular system.
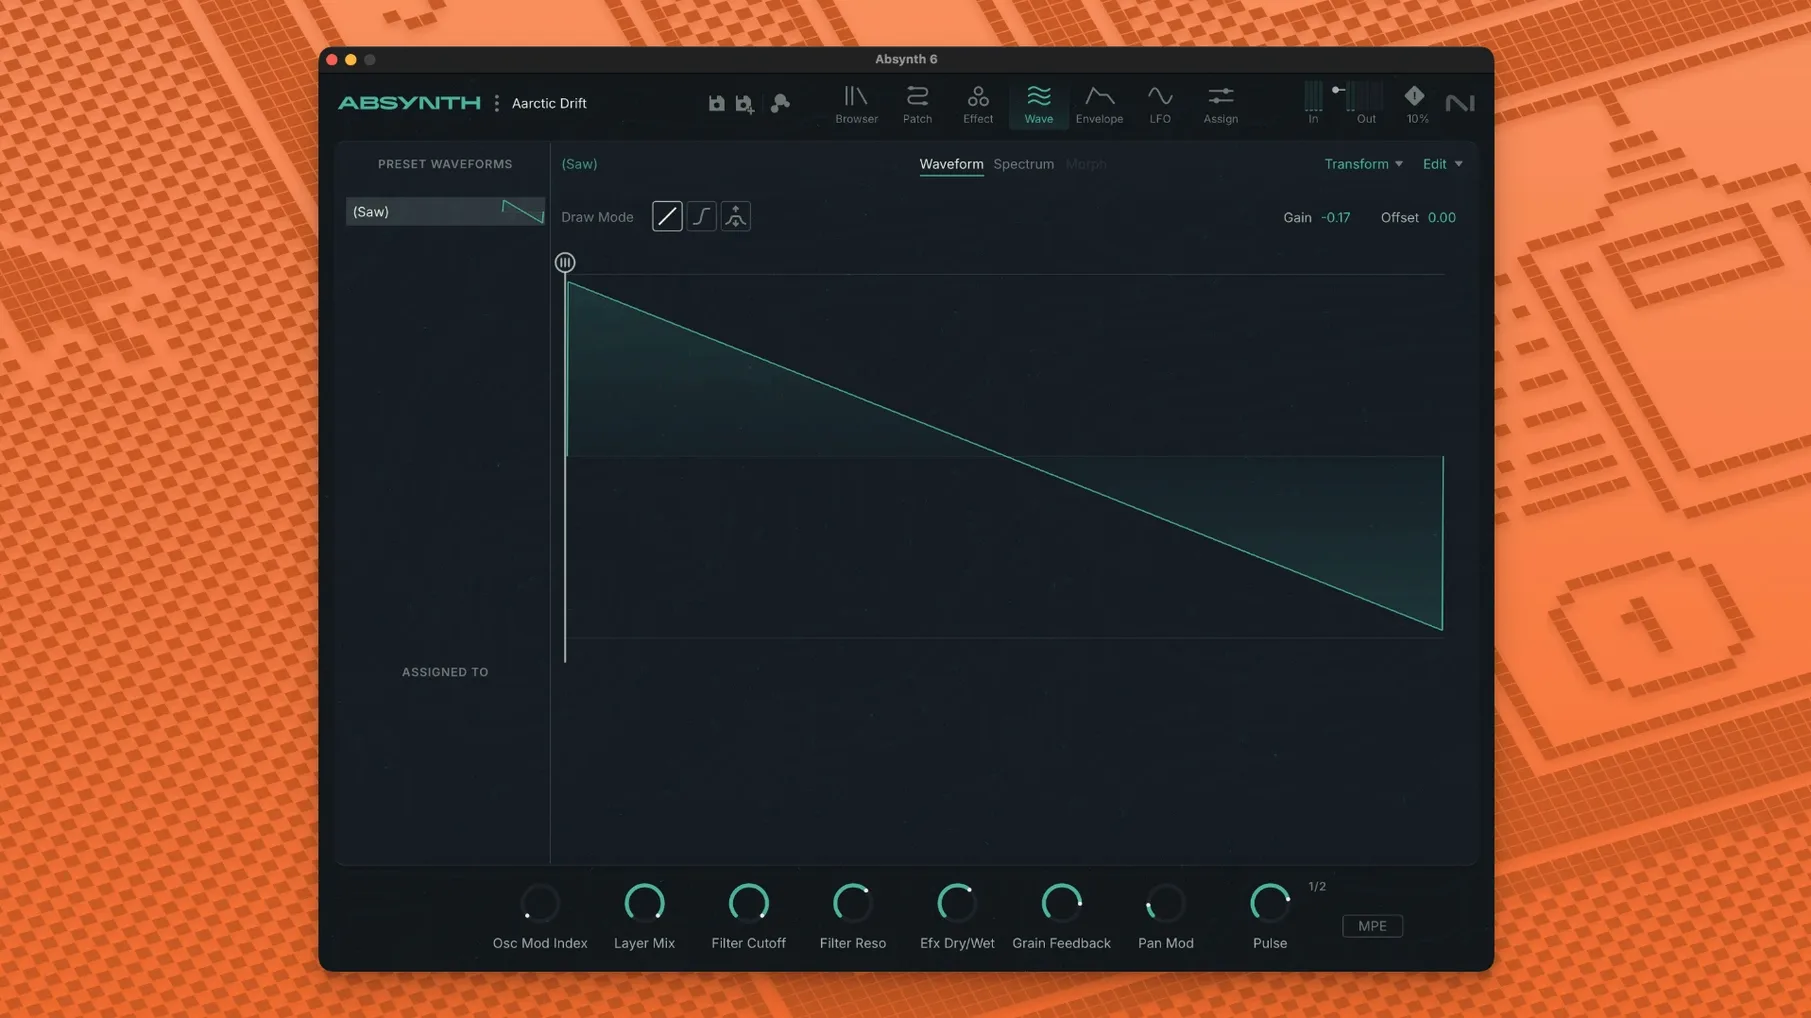
Sound engines — subtractive, FM, wavetable, and granular synthesis. You blend them rather than picking one.
MPE and polyphonic aftertouch — per-note pitch bend and pressure. Useful if your controller sends it.
Surround formats — up to eight-channel output. Quadraphonic, 5.1, and Octaphonic are all supported.
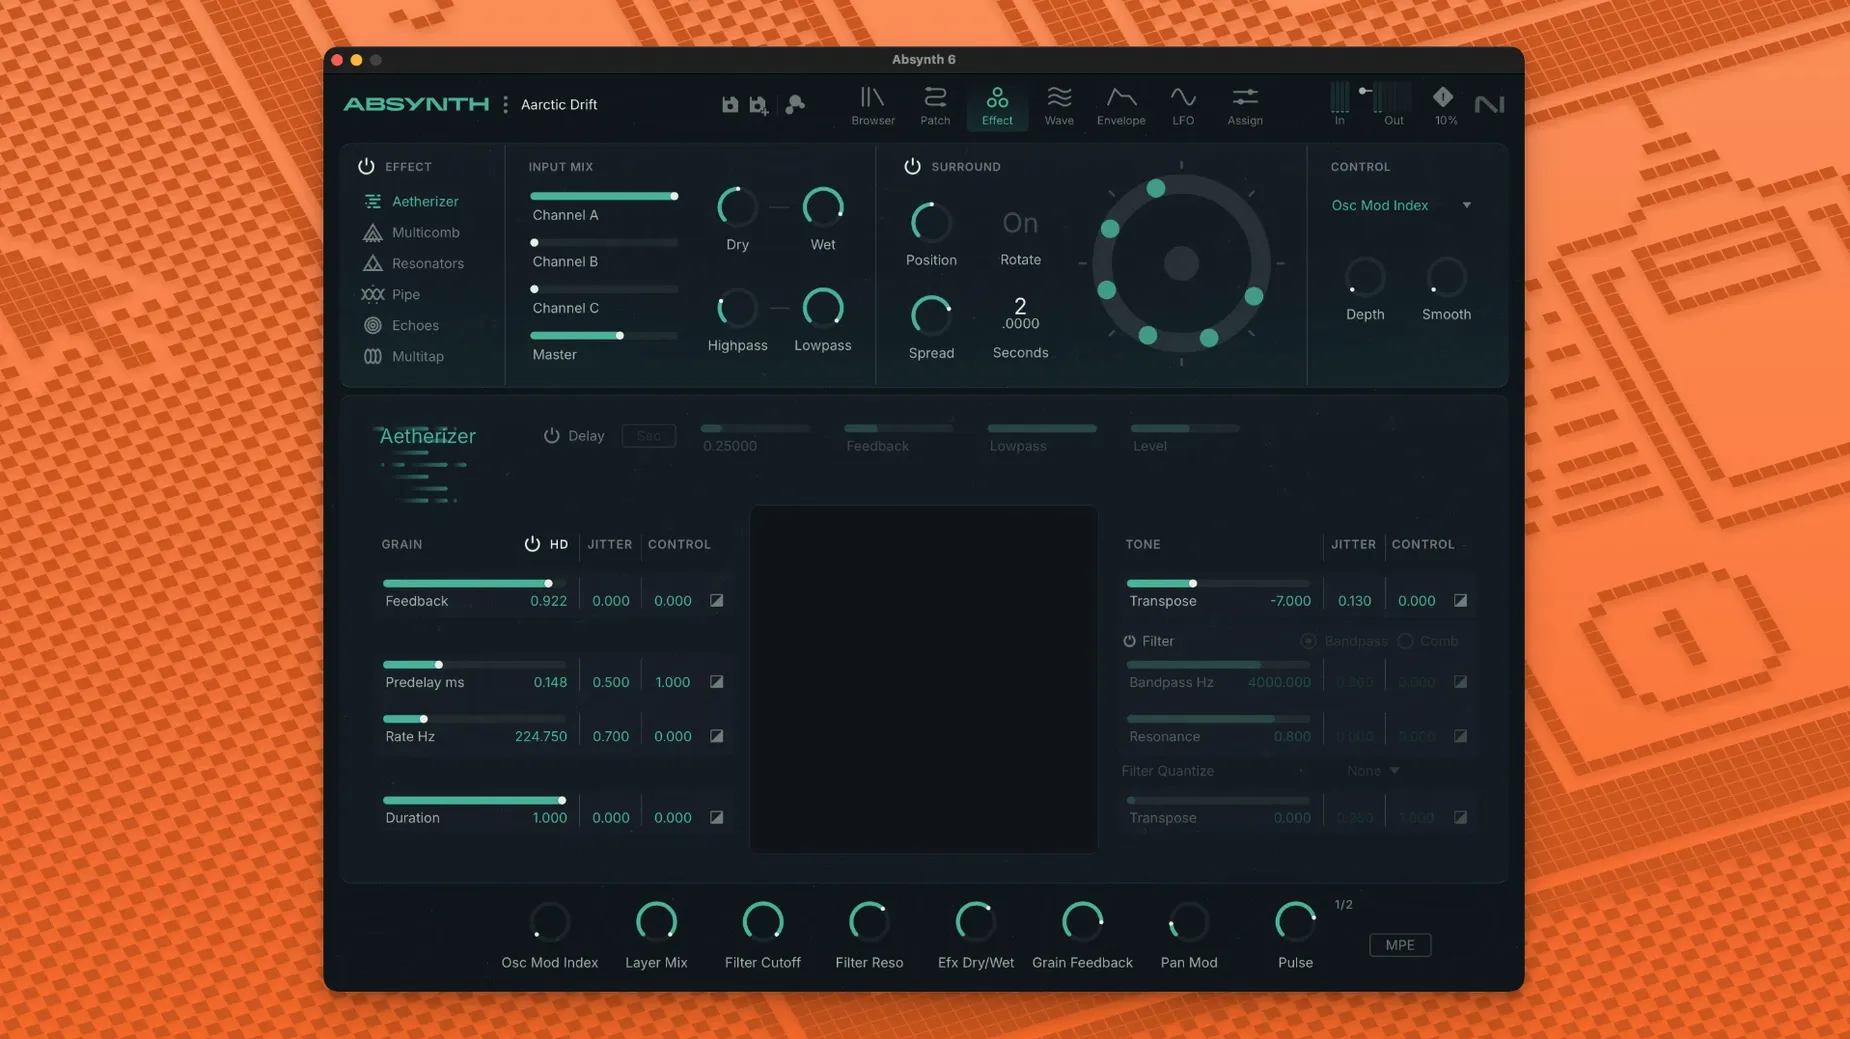
Effects and filters — Aetherizer, Cloud Filter, and Supercomb. All three lean toward washy, smeared, or metallic textures.
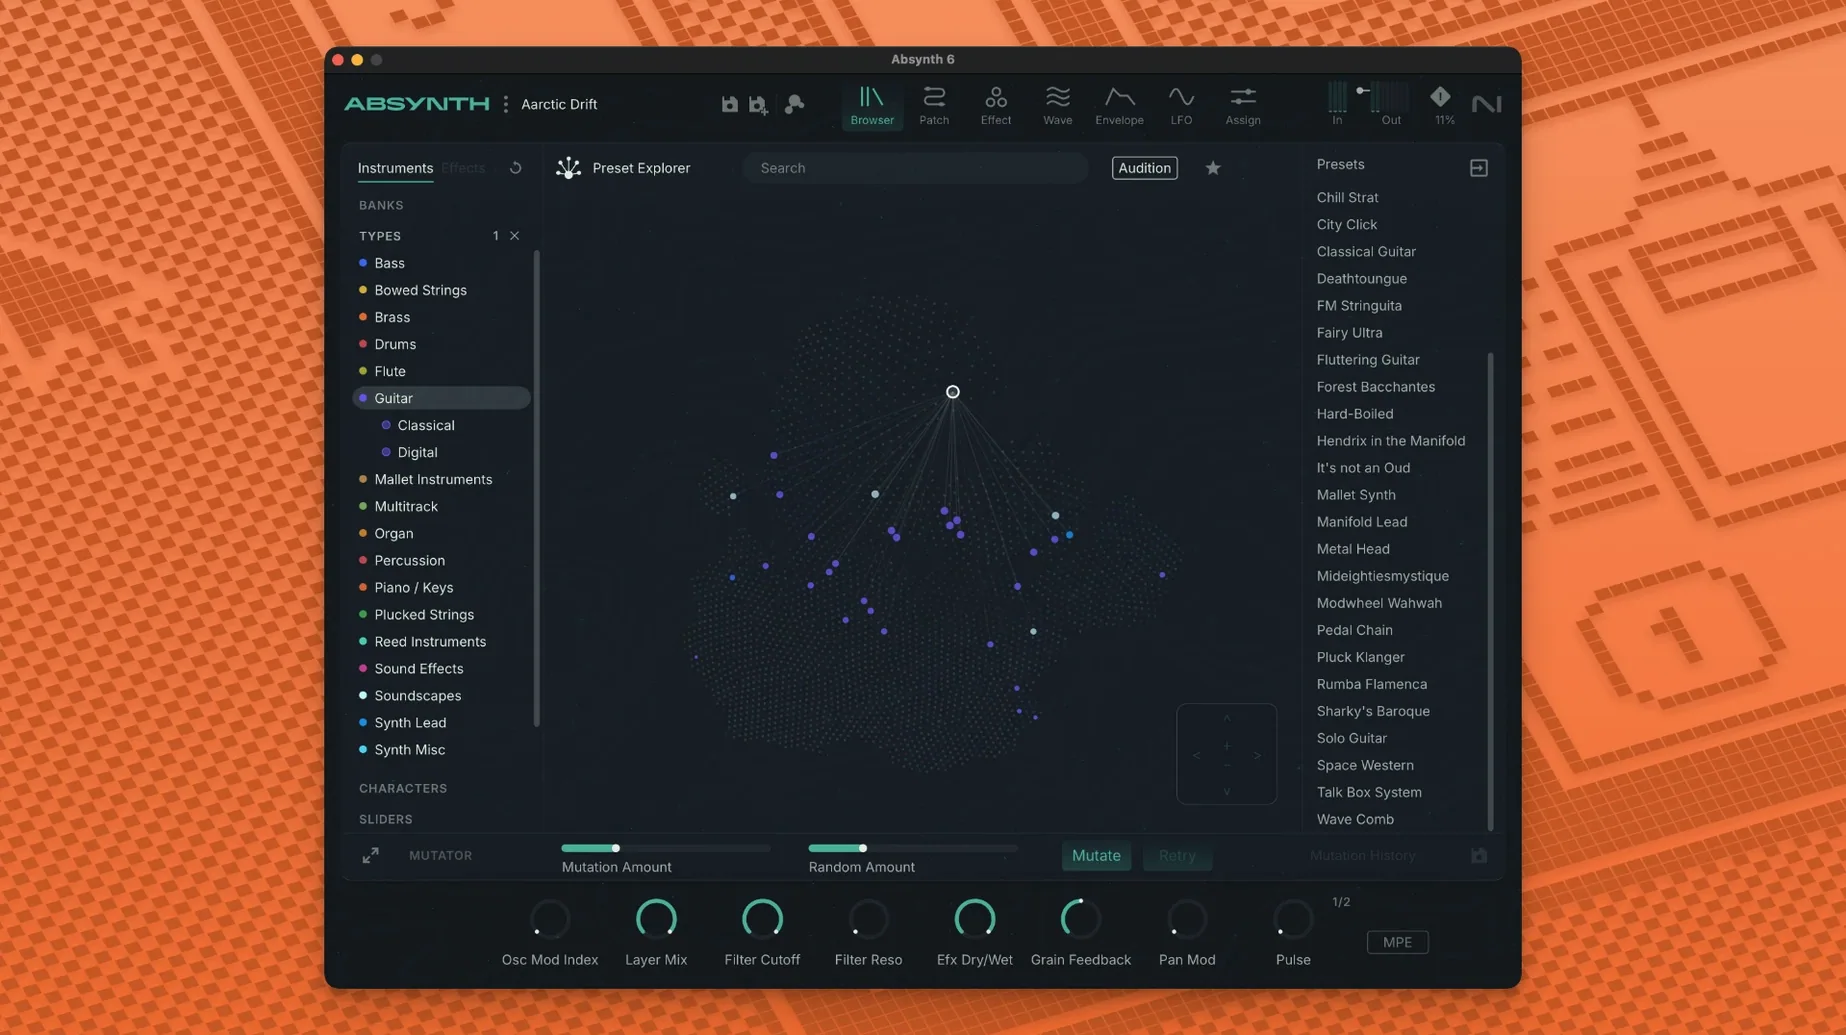
Preset browser — 250 new presets in this version, searchable from the browser. A decent starting point for sound design sessions.
A few things that catch people out
A few things catch people out with Absynth 6. Here are the ones I see most often and the fixes.
Point your DAW to the correct plug-in folders
The installer puts the AU and VST3 files in their default locations. If your DAW scans a custom folder, you need to point it at /Library/Audio/Plug-Ins/VST3 (VST3) or /Library/Audio/Plug-Ins/Components (AU). For AAX, check /Library/Application Support/Avid/Audio/Plug-Ins. After moving or rescanning, restart the DAW.
No sound from surround patches on a stereo track
Surround presets expect multi-channel outputs. If your DAW track is stereo, you only hear the front-left and front-right. Either choose a stereo preset from the browser (they're tagged), or change your DAW track to a multi-channel format — Quadraphonic for a quick test. The track width needs to match the preset's output configuration.
MPE doesn't respond as expected
MPE relies on MIDI channels 2-16 for per-note data. Your controller must send on those channels, and your DAW must route them to Absynth. A common oversight: the DAW's MIDI filter is stripping out polyphonic aftertouch. Check that your DAW isn't filtering controllers 74, 71 or pitch bend on any channel. Absynth sees what arrives — it can't fix what gets dropped upstream.
Reduce grain density when a patch spikes your CPU
Granular synthesis is processor-heavy by nature. If one patch spikes your system, you can reduce the voice count in the oscillator section. The granular engine's grain density is the main lever. Cutting it by a third often brings things back to normal without changing the sound drastically. On Apple Silicon machines this is rarely an issue; Intel Core i5 or equivalent machines will notice it more.
Build a slow drone from an init patch with Aetherizer
This is one route through Absynth 6 for a slow, evolving drone. It uses the Aetherizer and the granular engine.
- Start from an init patch. Load the init preset (it lives in the preset browser under Utilities or Templates). This clears all modulation and effects.
- Set the output to stereo. Even if you plan to move to surround later, start in stereo. Open the output section and choose Stereo. This keeps routing simple while you build.
- Choose the granular engine. In the oscillator section, switch the main engine to Granular. Load a long sample or hold note from the internal wavetable set — a sustained string or pad works well. Adjust the pitch spread to taste (+/- 12 semitones gives a wide smear).
- Add the Aetherizer. Insert the Aetherizer effect into the effects chain. Raise the Size and Dampening controls slowly until the sound loses its attack and becomes a wash. The Aetherizer is a reverb-like effect but with more spectral smearing; it works well here.
- Add slow modulation. Use the mod matrix to assign an LFO to the filter cutoff and to the grain pitch spread.
- Tweak the filter. Add a low-pass filter from the Supercomb bundle, cutoff around 2 kHz, resonance low. This keeps the drone from being too bright.
- Save as a user preset. Name it something like "Drone Starter". It becomes a base for further tweaking later.
From here you can layer more oscillator voices, add an envelope follower for dynamics, or switch to a surround output for a spatial version.
Set MIDI channel filter to Omni before patching
Before you start patching, go through these. They save time and frustration.
- MIDI channel filter. Set it to Omni if you want any controller to play any voice. Set it to a specific channel if you're layering multiple instances of Absynth on different MIDI tracks. This is in the MIDI settings tab.
- Polyphony limit. Default is 16 voices. That's fine for most work. For drones or granular patches, drop it to 8 or 12. It doesn't kill notes — it just stops new ones when you hit the limit. Keeps CPU predictable.
- Master volume range. Output defaults to +0 dB. If you're layering multiple Absynth instances or running it through a mastering chain, drop the master output to -6 dB. Gives headroom for processing later.
- Preset browser tags. Tag your own presets with keywords — "drone", "bass", "fx". The browser filters on those tags. Saves scrolling through 250 presets every session.
- Sample rate. If your interface runs at 96 kHz, make sure Absynth's sample rate matches your DAW's project rate. Mismatch causes clicks or silence. The synth picks up the DAW's rate automatically, but double-check if you're running a non-standard rate like 88.2 kHz — some DAWs report it oddly.
- Absynth returns as version 6.
- Full MPE and polyphonic aftertouch support added.
- Up to eight-channel surround formats now supported, including Quadraphonic, 5.1, and Octaphonic.
- macOS 14 or later
- Intel Core i5 or Apple Silicon
- 4 GB RAM (6 GB recommended)
- 64-bit VST3, AU, or AAX host
Staffroom comments 0
Sign in or create an account here to leave a comment.
Nobody has commented on this one yet.
Other Mac Apps tools
All Mac Apps tools-
 Ableton Live
12.4.16
5.1 GB
Mac Apps
-
 ACDSee Photo Studio
26.0.3
441 MB
Mac Apps
-
 Adobe After Effects
26.5.0
8.8 GB
Mac Apps
-
 Adobe InDesign
21.6.0
1.5 GB
Mac Apps
-
 Adobe Lightroom Classic
15.6.0
3.7 GB
Mac Apps
-
 Adobe Photoshop
27.11
3.5 GB
Mac Apps
-
 Adobe Premiere Pro
26.5.2
4.1 GB
Mac Apps
-
 Adobe Premiere Rush
1.5.62Intel Macs only
1.6 GB
Mac Apps