DaVinci Resolve Studio 21.1.1 (macOS)
One download for Apple Silicon and Intel. Opens the install steps and mirrors.
- Version
- 21.1.1
- Size
- 7.9 GB
- Earliest macOS
- 15 or later
- CPU type
- Universal
- Updated
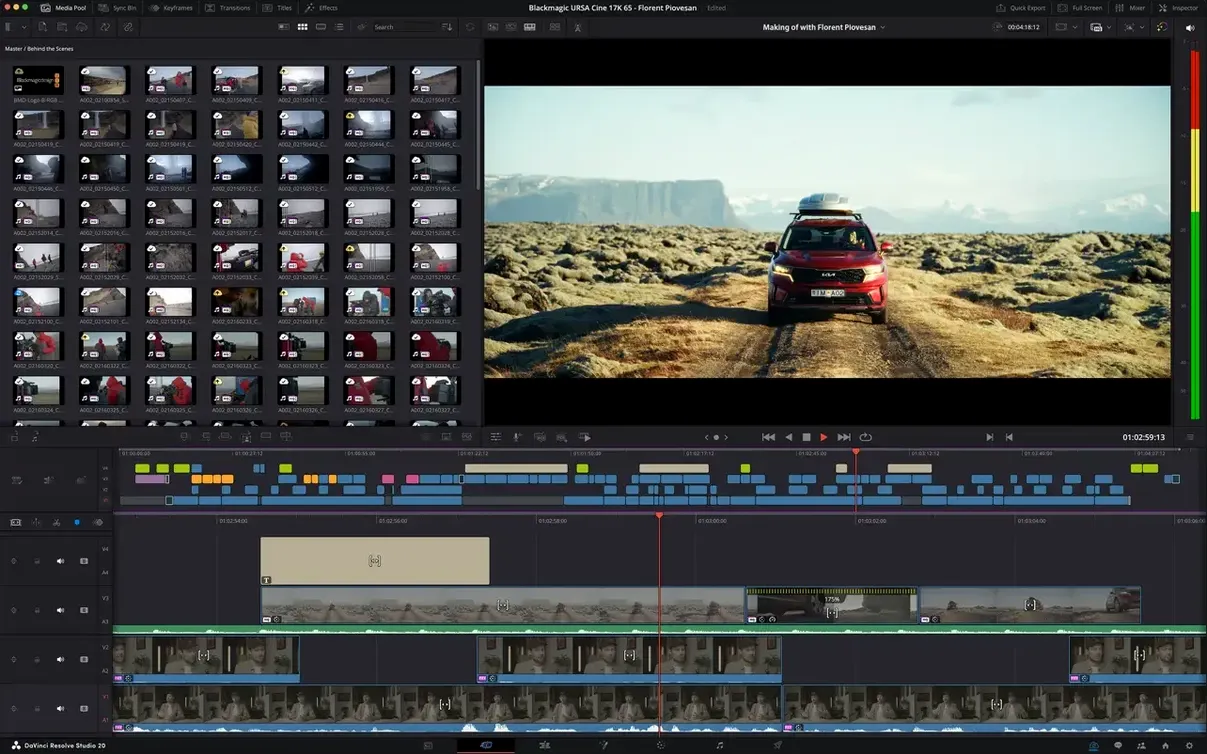
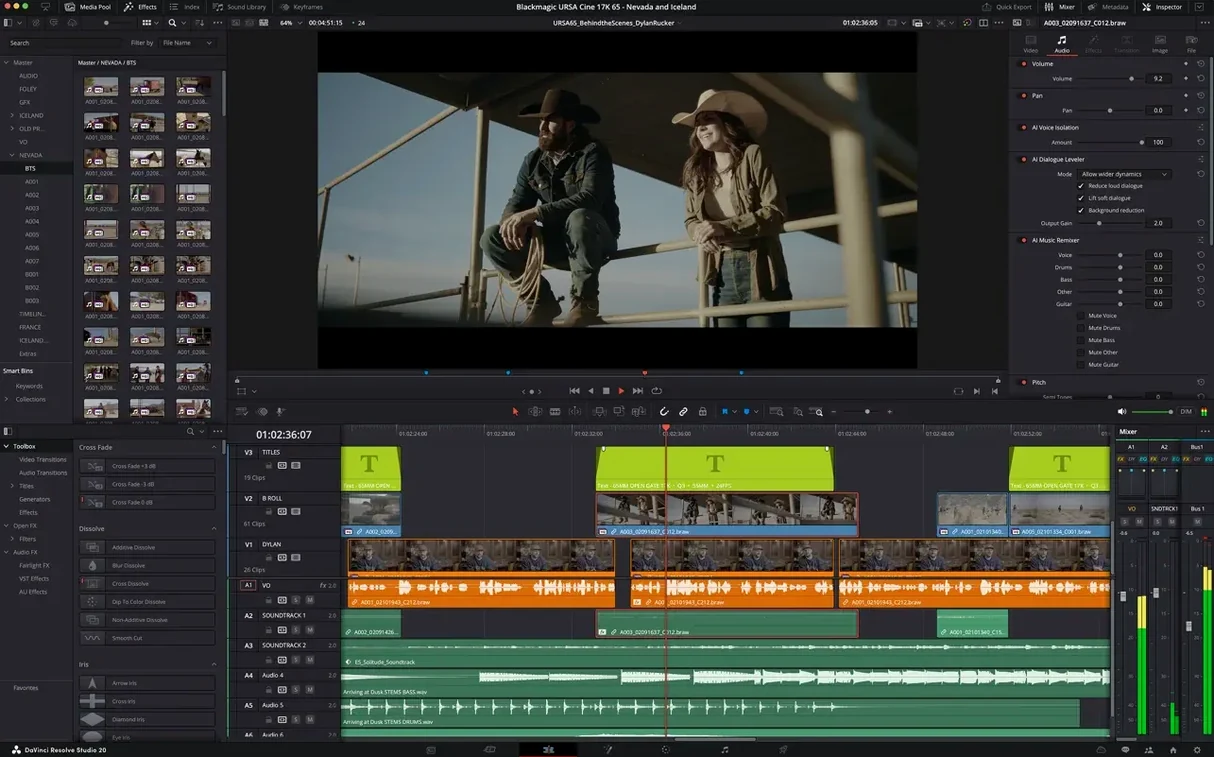
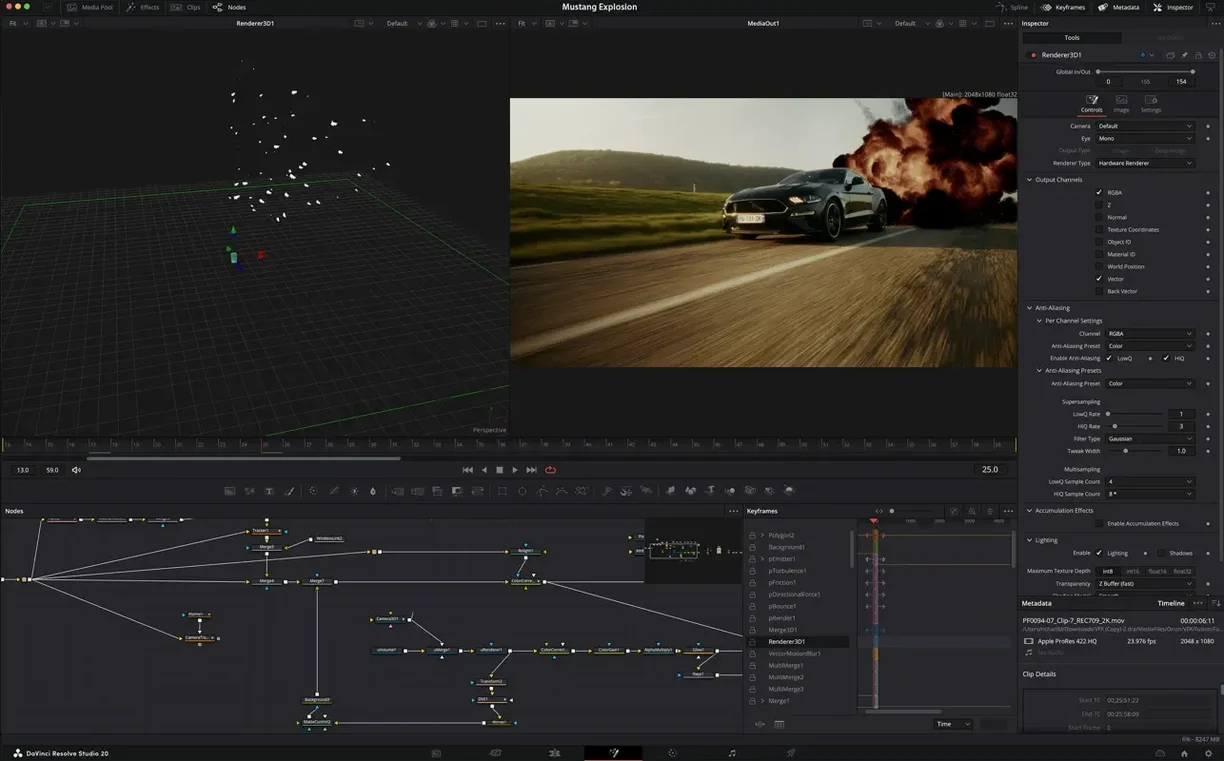
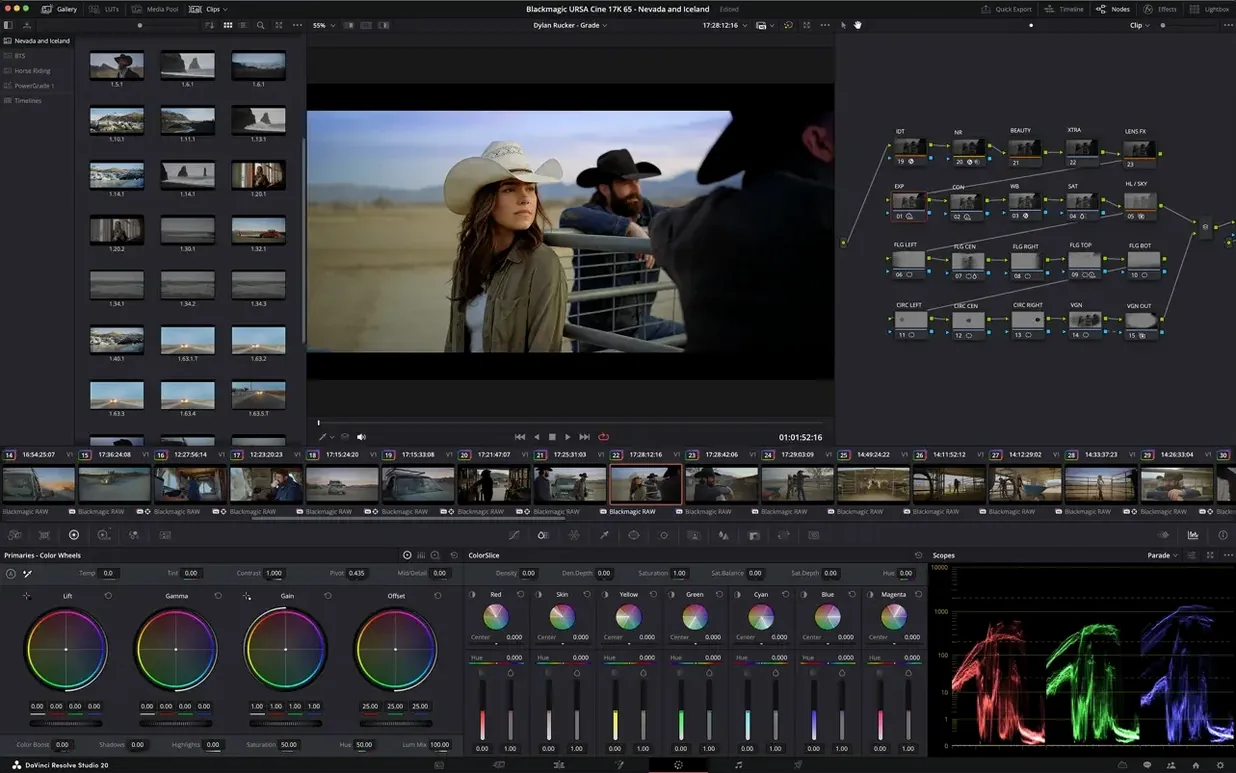
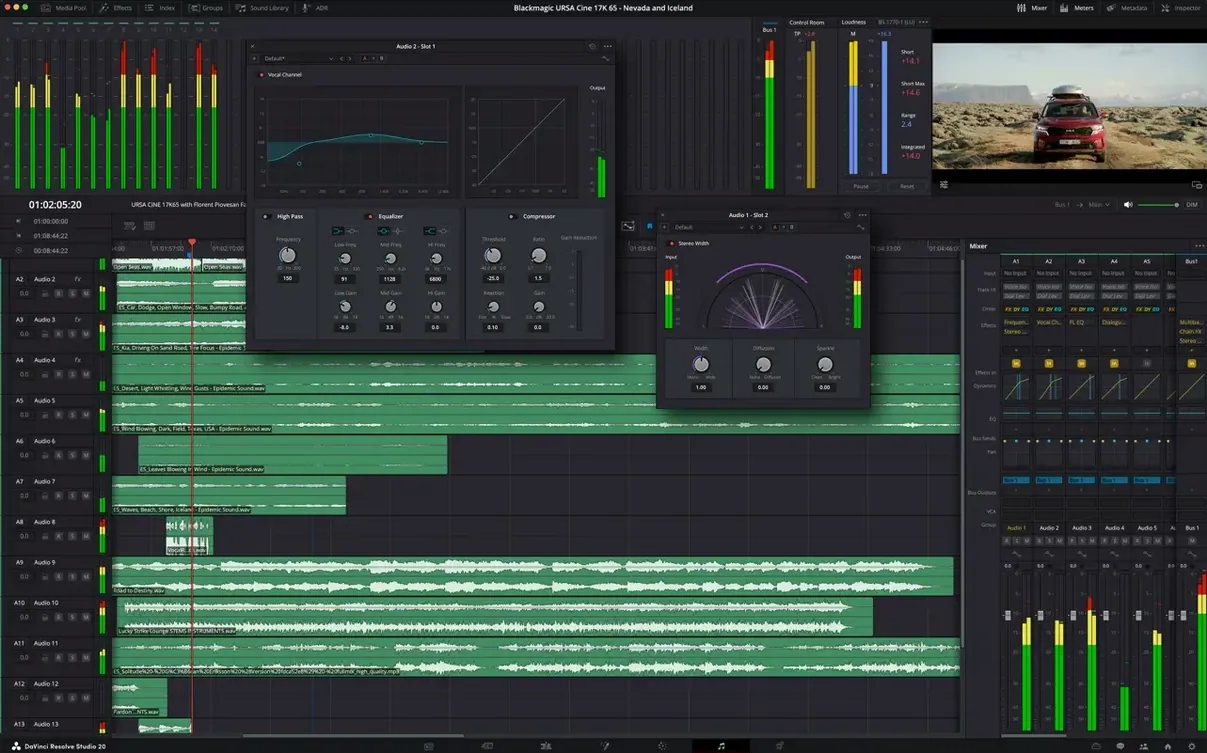
Noise reduction, temporal effects, stereoscopic 3D tools and multi-GPU support sit behind the Studio licence, along with the full Fairlight audio mixer for finishing a soundtrack properly.
Workflow in one application
- Media and organisation. Bring footage onto the Media page. The 21.1 update added HEIC hardware decoding on Apple Silicon and wider camera format support on the Photo page, so raw stills and phone images ingest faster.
- Cut and edit. Switch to the Cut or Edit page for assembly. The new AI assistant helps with batch rendering and sorting bins, which saves time when a project has hundreds of clips.
- Colour and effects. Move to the Colour page for primaries, curves and tracking. Fusion handles compositing, and the update added over 25 Krokodove graphics tools for motion graphics work.
- Audio finishing. Fairlight handles mixing, EQ and mastering on the Fairlight page. No round-tripping to another DAW.
- Delivery. Render from the Deliver page with format presets for broadcast, web or archive.
Everything lives in a single project file. No XML exports between tools, no relinking media across separate apps. The interface scales across the Cut, Edit, Colour, Fusion and Fairlight pages depending on the task at hand.
What to change the first time you open it
A fresh install of Resolve Studio 21.1 carries a few defaults that slow down a Mac editor before a single clip hits the timeline.
Memory and GPU configuration. Open Preferences, then the Memory and GPU tab. On a Mac with Apple Silicon, make sure the processing mode is set to Metal. The GPU configuration section lists available cards; if Resolve picked the wrong one, override it manually. Untick “Stop renders when a frame or clip cannot be processed” if you want overnight renders to finish rather than stall.
Media storage locations. Resolve defaults its cache and gallery stills to the system drive. Point them to a fast external volume instead. The cache grows quickly with Fusion compositions and noise reduction passes. Set the cache format to a lightweight codec like ProRes 422 Proxy unless you need full-quality renders from the cache.
Project settings for colour science. New projects open with DaVinci YRGB colour science. For HDR work or when matching a specific camera’s log curve, switch to DaVinci YRGB Color Managed and set the timeline colour space to match the source footage. Do this before dropping clips onto a timeline; changing colour science mid-project can shift existing grades.
Auto-save behaviour. Resolve enables live save by default. That is fine for single-station work, but if you collaborate or want discrete recovery points, switch to project backups instead. Set the interval to 10 minutes and keep at least 20 versions. A corrupted project database is rare, but it is unrecoverable without backups.
User interface scale. On a MacBook display with a high pixel density, the default UI scale can cramp the node editor and curves panel. Bump it one notch in the User tab of Preferences. The panels reflow without a restart.
Beginner mistakes that cost time
- Editing directly from the media pool without proxies. High-resolution codecs like H.265 10-bit 4:2:2 or raw formats choke the timeline. Generate proxies on ingest by right-clicking clips and selecting “Generate Proxy Media.” Resolve will use them automatically during playback and switch back to originals for final render.
- Ignoring node order on the Colour page. New users stack all corrections on a single serial node. That makes it impossible to disable a specific adjustment or reorder operations. Build a simple tree: node 1 for exposure and white balance, node 2 for a colour space transform, node 3 for a look, node 4 for secondary keys.
- Dragging all audio to track 1. Fairlight is a full mixer. Assign dialogue, effects, and music to separate tracks. Set up a bus structure for reverb and compression sends. The extra routing effort pays off the moment you need to duck music under dialogue or export a split mix for a sound house.
- Applying temporal noise reduction as the first step. Studio’s temporal NR is powerful but processor-intensive. Run it last, after the grade is locked, and cache the result. Running it early means every small grade change triggers a re-analysis of the noise profile, which can stall a session for minutes at a time.
- Leaving render settings at default. The default YouTube preset uses a fairly aggressive data rate. The difference is visible on footage with fine grain or heavy motion.
Grading a short interview clip end to end
Assume a 30-second talking-head clip, shot in S-Log3 on an external recorder, already synced with external audio and sitting in the media pool. The goal is a clean, natural look with a subtle background vignette and broadcast-safe levels, ready for export to a 1080p master.
- Proxy generation. Right-click the clip in the media pool and generate proxy media at quarter resolution using ProRes 422 Proxy. Timeline playback stays fluid even on a portable Mac.
- Timeline colour space. In project settings, switch colour science to DaVinci YRGB Color Managed. Set the timeline colour space to Rec.709 Gamma 2.4 and the input colour space for the clip to S-Gamut3.Cine / S-Log3. Resolve handles the transform automatically; no LUT required.
- Primary balance. On the Colour page, add a serial node. Lift the shadows until the waveform sits just above zero. Drop the gain slightly if the face registers above 70 IRE. Adjust white balance with the eyedropper on a neutral area of the background wall.
- Skin tone. Add a second serial node. Mask the face with a circular Power Window, soften the edge, and use the vectorscope skin-tone line to guide a small hue shift. Pull the window’s mid-tone detail slider to isolate skin without affecting hair or clothing.
- Vignette. Add a third serial node. Draw an elliptical Power Window over the subject’s upper body, invert it, and drop the gain by 0.2. Feather heavily so the fall-off is barely perceptible.
- Broadcast safe check. Add a fourth serial node with the broadcast-safe filter engaged. Set luminance ceiling to 100 IRE and chroma ceiling to the Rec.709 limit.
- Render. Switch to the Deliver page. Choose the H.264 Master preset, set resolution to 1920×1080, quality to “Best,” and restrict the bitrate to 35,000 Kbps. Add the job to the render queue and run it.
The whole grade, from proxy generation to render queue, takes under five minutes once the nodes are built. Save the node tree as a still in the gallery for reuse on similar clips in the same project.
What people want to know before they install
Does it need an internet connection to run? No. Activation happens once, offline, using the guide included in the package. After that Resolve Studio runs without phoning home. Project libraries, media, and caches all live locally. The new AI assistant features in 21.1 are local processes and do not require a cloud connection.
Will it run on a base M1 MacBook Air? Yes, it installs on any Mac running macOS 15 or later with Apple Silicon or Intel. A machine with 8 GB of unified memory handles HD timelines comfortably. Heavy Fusion compositions, temporal noise reduction, or 8K raw files will push the system, so proxy workflows and smart caching become essential on entry-level hardware.
What is different from the free version? Studio removes the resolution cap, unlocks GPU-accelerated noise reduction, adds the full Fairlight mixer with advanced busing and the Dialogue Leveler, enables stereoscopic 3D tools, multiple GPU support, and over 25 Resolve FX filters including face refinement and lens flare. The
- AI assistant integration for media organisation and batch rendering
- Expanded camera format support on the Photo page
- Over 25 new Krokodove graphics tools
- macOS 15
- Intel or Apple Silicon Mac
Questions people ask
What does the Studio edition add over the free DaVinci Resolve?
Studio adds temporal and spatial noise reduction, stereoscopic 3D tools, multi-GPU support, and the full Fairlight audio mixer, among other features locked behind the paid licence.
Does version 21.1 run natively on Apple Silicon Macs?
Yes, it runs natively on Apple Silicon and Intel Macs running macOS 15, with hardware-accelerated HEIC decoding now included for Apple Silicon systems.
What is the Krokodove update in version 21.1?
The update adds over 25 new Krokodove graphics tools inside Fusion, expanding the motion graphics and compositing toolset directly within DaVinci Resolve Studio.
Staffroom comments 0
Sign in or create an account here to leave a comment.
Nobody has commented on this one yet.